Gustav Klimt had a "golden period" and it was my favorite. I am absolutely fascinated by the bold colors that he used. He also added jewels which for embellishment purposes is right up my alley. For our 3D design class we had to take a 2D image and turn it into a relief. I chose a portion of the Stoclet Frieze. You may remember me dying my own wool a while back! This is 24" X 36" and took approximately 5 weeks to finish. Wool is not as easy to work with as fabric and due to the thickness of this piece, it was a challenge with my felting machine.
I used two types of wool carded and scoured. Carded wool has been processed. It has a soft texture and is really soft to the touch. Many posts back I talked about Rug Works, and they sold scoured wool. That is wool taken directly off the sheep and then washed and bleached. It is then dyed. This wool retains the curls from the sheep. Carded wool actually is the step that occurs after the scouring and has a very finished look.
The woman's face was hand painted using fabric paint and a very tiny brush.
The piece is embellished with beads, buttons, and colored foil. All of the embellishments are hand sewn and that is what contributed to most of the time. Below is taken from the Gustav Klimt website describing this mosaic. It was completed near the end of his life as he passed in 1918.
"The Stoclet Frieze is a series of three mosaics created by Austrian painter Gustav Klimt for a 1905-1911 commission for the Palais Stoclet in Brussells. The panels depict swirling Tree of life|Trees of life, a standing female figure and an embracing couple. The mosaics are spread across three walls of the Palais' dining room, with the two larger, figural sections set opposite each other on the longer walls of the room. A smaller, geometric panel occupies the short wall separating them. The designs are formed from a variety of luxury materials, including marble, ceramic, gilded tiles and enamel along with pearls and other semi-precious stones."Taken from www.klimt.com
Welcome!
Thank you for visiting artful embellishments. This is the third year for this blog and I am so happy to keep publishing. I started in 2011 and began with a quilt of the week, this lead to the leaf of the week for my newly designed paper tree that is located on the wall of my garage in 2012.......2013 is going to bring a lot of excitement and positive change. As a personal challenge for 2013, I plan on designing a artist trading card each week to be featured on the blog.
With so many interests, there will be quilting, art quilting, leaves (and more leaves), as well as experiments in thermofax screen printing, fabric dying, and tons of DIY recycle projects. I may even enter that altered fashion scene. To a happy and healthy 2013, may we all find happiness in those things we create....thank you for stoping by artful embellishments.
Monday, December 2, 2013
Wednesday, November 27, 2013
The apprentice-Part I
Being asked to assist Randy Crawford to do a project for a show was a dream come true. Being an apprentice is such an honor, particularly to one with Randy's background. Randy is a fiber artist who has his MFA from Cranbook. He has sold numerous pieces of art, so numerous he has lost count. His art is displayed in galleries, air ports, homes, businesses, and many other venues. He has held solo shows and is a master of painting, ceramics, drawing, and fiver. So we he asked if I would like to become an apprentice while embarking on a twist tie experiment, how could I say no?
My favorite part of this project was the trouble shooting. I had the twist ties, but sewing them together was the challenge. I used water soluble stabilizer and two sided tape to start. The picture to the left shows how each individual twist tie was laid out.
The next part was to use a zigzag stitch with white thread to get all of the twist ties to lay flat. This anchors everything.
The next step was to pick color combinations that are appealing to the eye. Random stitching was done on each of these squares. Usually three to four colors were chosen. Each of these squares takes about one hour.
At the end we embroider large words that pertain to art on them. The finished project will be magnificent and should take us about a year. Our target is the faculty show in fall of 2014. Stay tuned for more work from the apprentice.
Tuesday, November 26, 2013
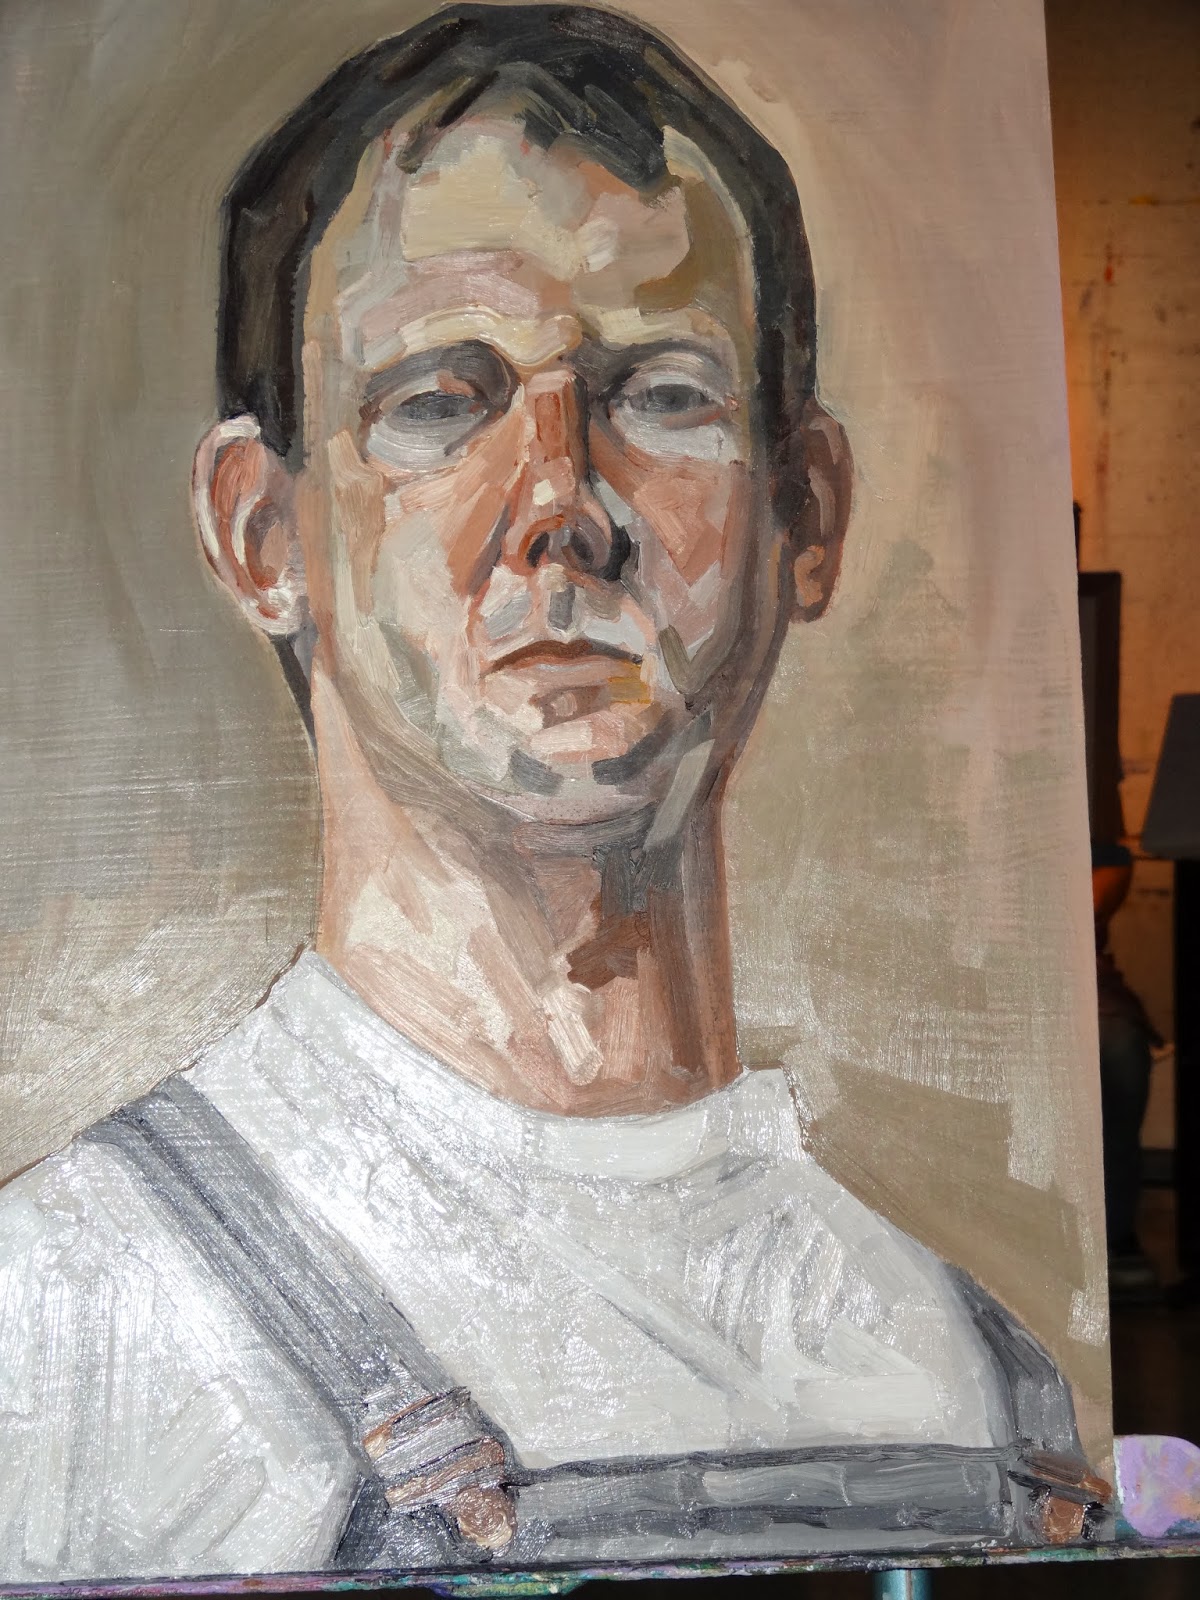
Self Portrait Paintings
Painting class moved on from still life to self portraits. Seeing as I couldn't draw myself, I didn't have much confidence in the realm of painting. So we embarked as a class. We had very specific palette's that we had to use, and often this was just four colors that we had to really mix. Here are my two......

Above are Kendra's! To the right is James. His captures his movement and his energy for sure. The bottom right is Jenny's. I love her light and shadow. Below are Tom's! He is amazing with the addition of the landscape. He blazed out four of these portraits.

Critique day is always my favorite. There is something so amazing to see all of our work lined up along the easels. Everyone paints very differently, and it is interesting to discuss everyone's work.
And below you can see the start of the instructors! Andrew
Friday, November 22, 2013
Tiger's Quilt
I realize my posts have been more infrequent. My current projects are much larger than what I normally tackle. Hence my absence. Earlier in the summer, all the way back in June, one of my closest friends asked me to make a quilt for her son Alec for Christmas. He is a huge Tiger fan. We discussed the style and colors. His room is red, blue, and khaki. Kim wanted the cool Tiger paraphernalia to be on the backside so he could flip it down, but also have a plain quilt if it flipped up. Kind of like two quilts in one. I have never made a quilt like this, nor have I made one this big 90" X 90". Over the course of 60 hours I was able to get this done. I think the hardest part was that I didn't want to disappoint Alec who is such a great 8 year old. More importantly, I had promised Kim, and I am just not one to go back on my word. It went much smoother than anticipated. The only really difficult part was the quilting. I do not own a long arm machine so I had to keep putting the quilt over my shoulders to help balance the weight. Anyone who thinks sewing cannot be an weight bearing activity needs to try quilting a heavy quilt. The second picture demonstrates how I had to role the quilt on each side to get it to balance while under my machine. The first picture is the quilt with the top flipped down. I hope Alec is surprised for Christmas. Although the Tigers didn't win the World Series this year, they still have their number one fan.
Wednesday, November 6, 2013
Fiber-Wool-Dye

This post is a prep post. I am required to make a 3D relief design from a 2D famous piece of art. I am doing Klimt. After working with wire, plaster, and balsa wood, I wanted to work with FIBER. It is my passion. So I decided I would do my relief in wool. Buying pre-dyed wool was not in my professors vocabulary. So I did it old school.
1. Get carded wool. (I didn't want to go crazy and actually shear my own sheep) Although maybe down the road.......
2. Put in the Jacquard Acid Dye with Citric Acid Powder. Cool pic isn't it! It just hadn't mixed yet!
3. Let soak for 30 minutes and rinse with synthrapol. Voila! Now I will begin the master piece!
Saturday, November 2, 2013
Leaves 266 to 285
I had some great fabric paper left over from another project. Again my hats off to Beryl Taylor who developed the technique. She is now being quoted in many art books. They really should call the technique Beryl Paper. Anyhow, I decided to make up some more leaves. There are virtually no leaves left on the trees after all this rain in Michigan! So I thought I would brighten up my own tree! I have so many cool embellishments that I have collected through magazines, images that I have found, and some neat scrap booking items, that I decided to embellish these leaves even more. Enjoy what is left of fall before winter blows in!
Friday, November 1, 2013
ATC 126-130 Halloween Lingers!
Well I had a few Halloween ATC's left in my trick or treat bag! Such a fun holiday. I loved my trick or treaters this year. They were all pint size and too cute. Hope your Halloween was spooky!
Subscribe to:
Posts (Atom)