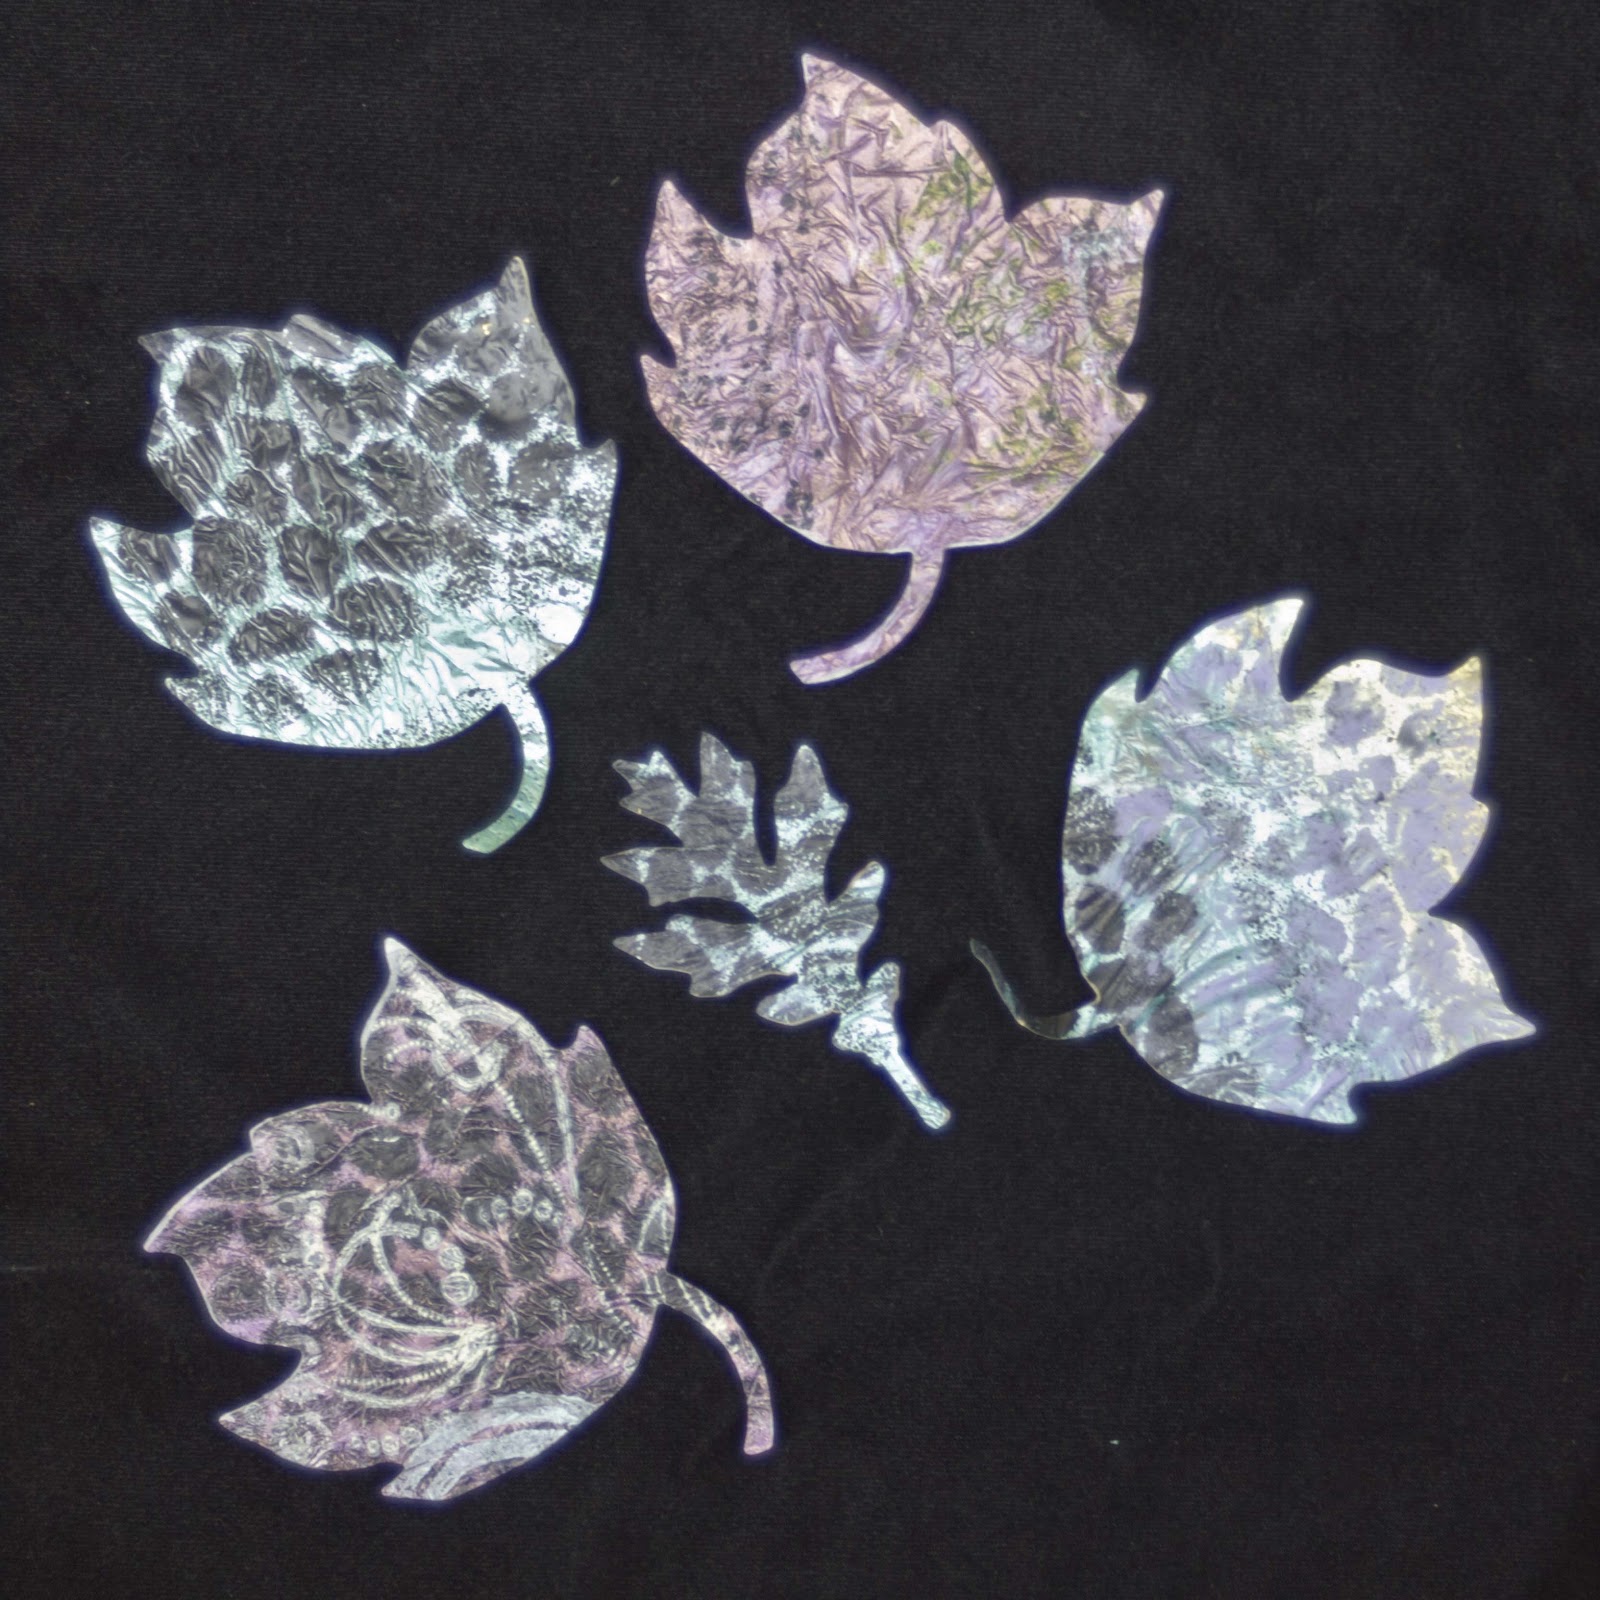
These leaves were made from recycled plastic grocery bags. This technique was first demonstrated to me via Alisa Burke (
alisaburke.blogspot.com/). She has a DVD, online courses, and has appeared on quilting arts tv. She is a great resource for being able to create without spending a lot of money. This plastic bag technique is really fun. It is a little time consuming as you have to adhere the bags together by ironing them. Once that is done, you paint the textured substrate with fabric paint. I chose to use some iridescent paints. Then I used Tulip spray paint with some stencils to get a very neat effect. Finally, they were stamped with chalk inks using Claudine Hellmuth's sponge stamps. These work really well as they are larger and take up the ink more readily. I did 15 different leaves with this technique and I will probably do some additional projects using this recycled material.

No comments:
Post a Comment